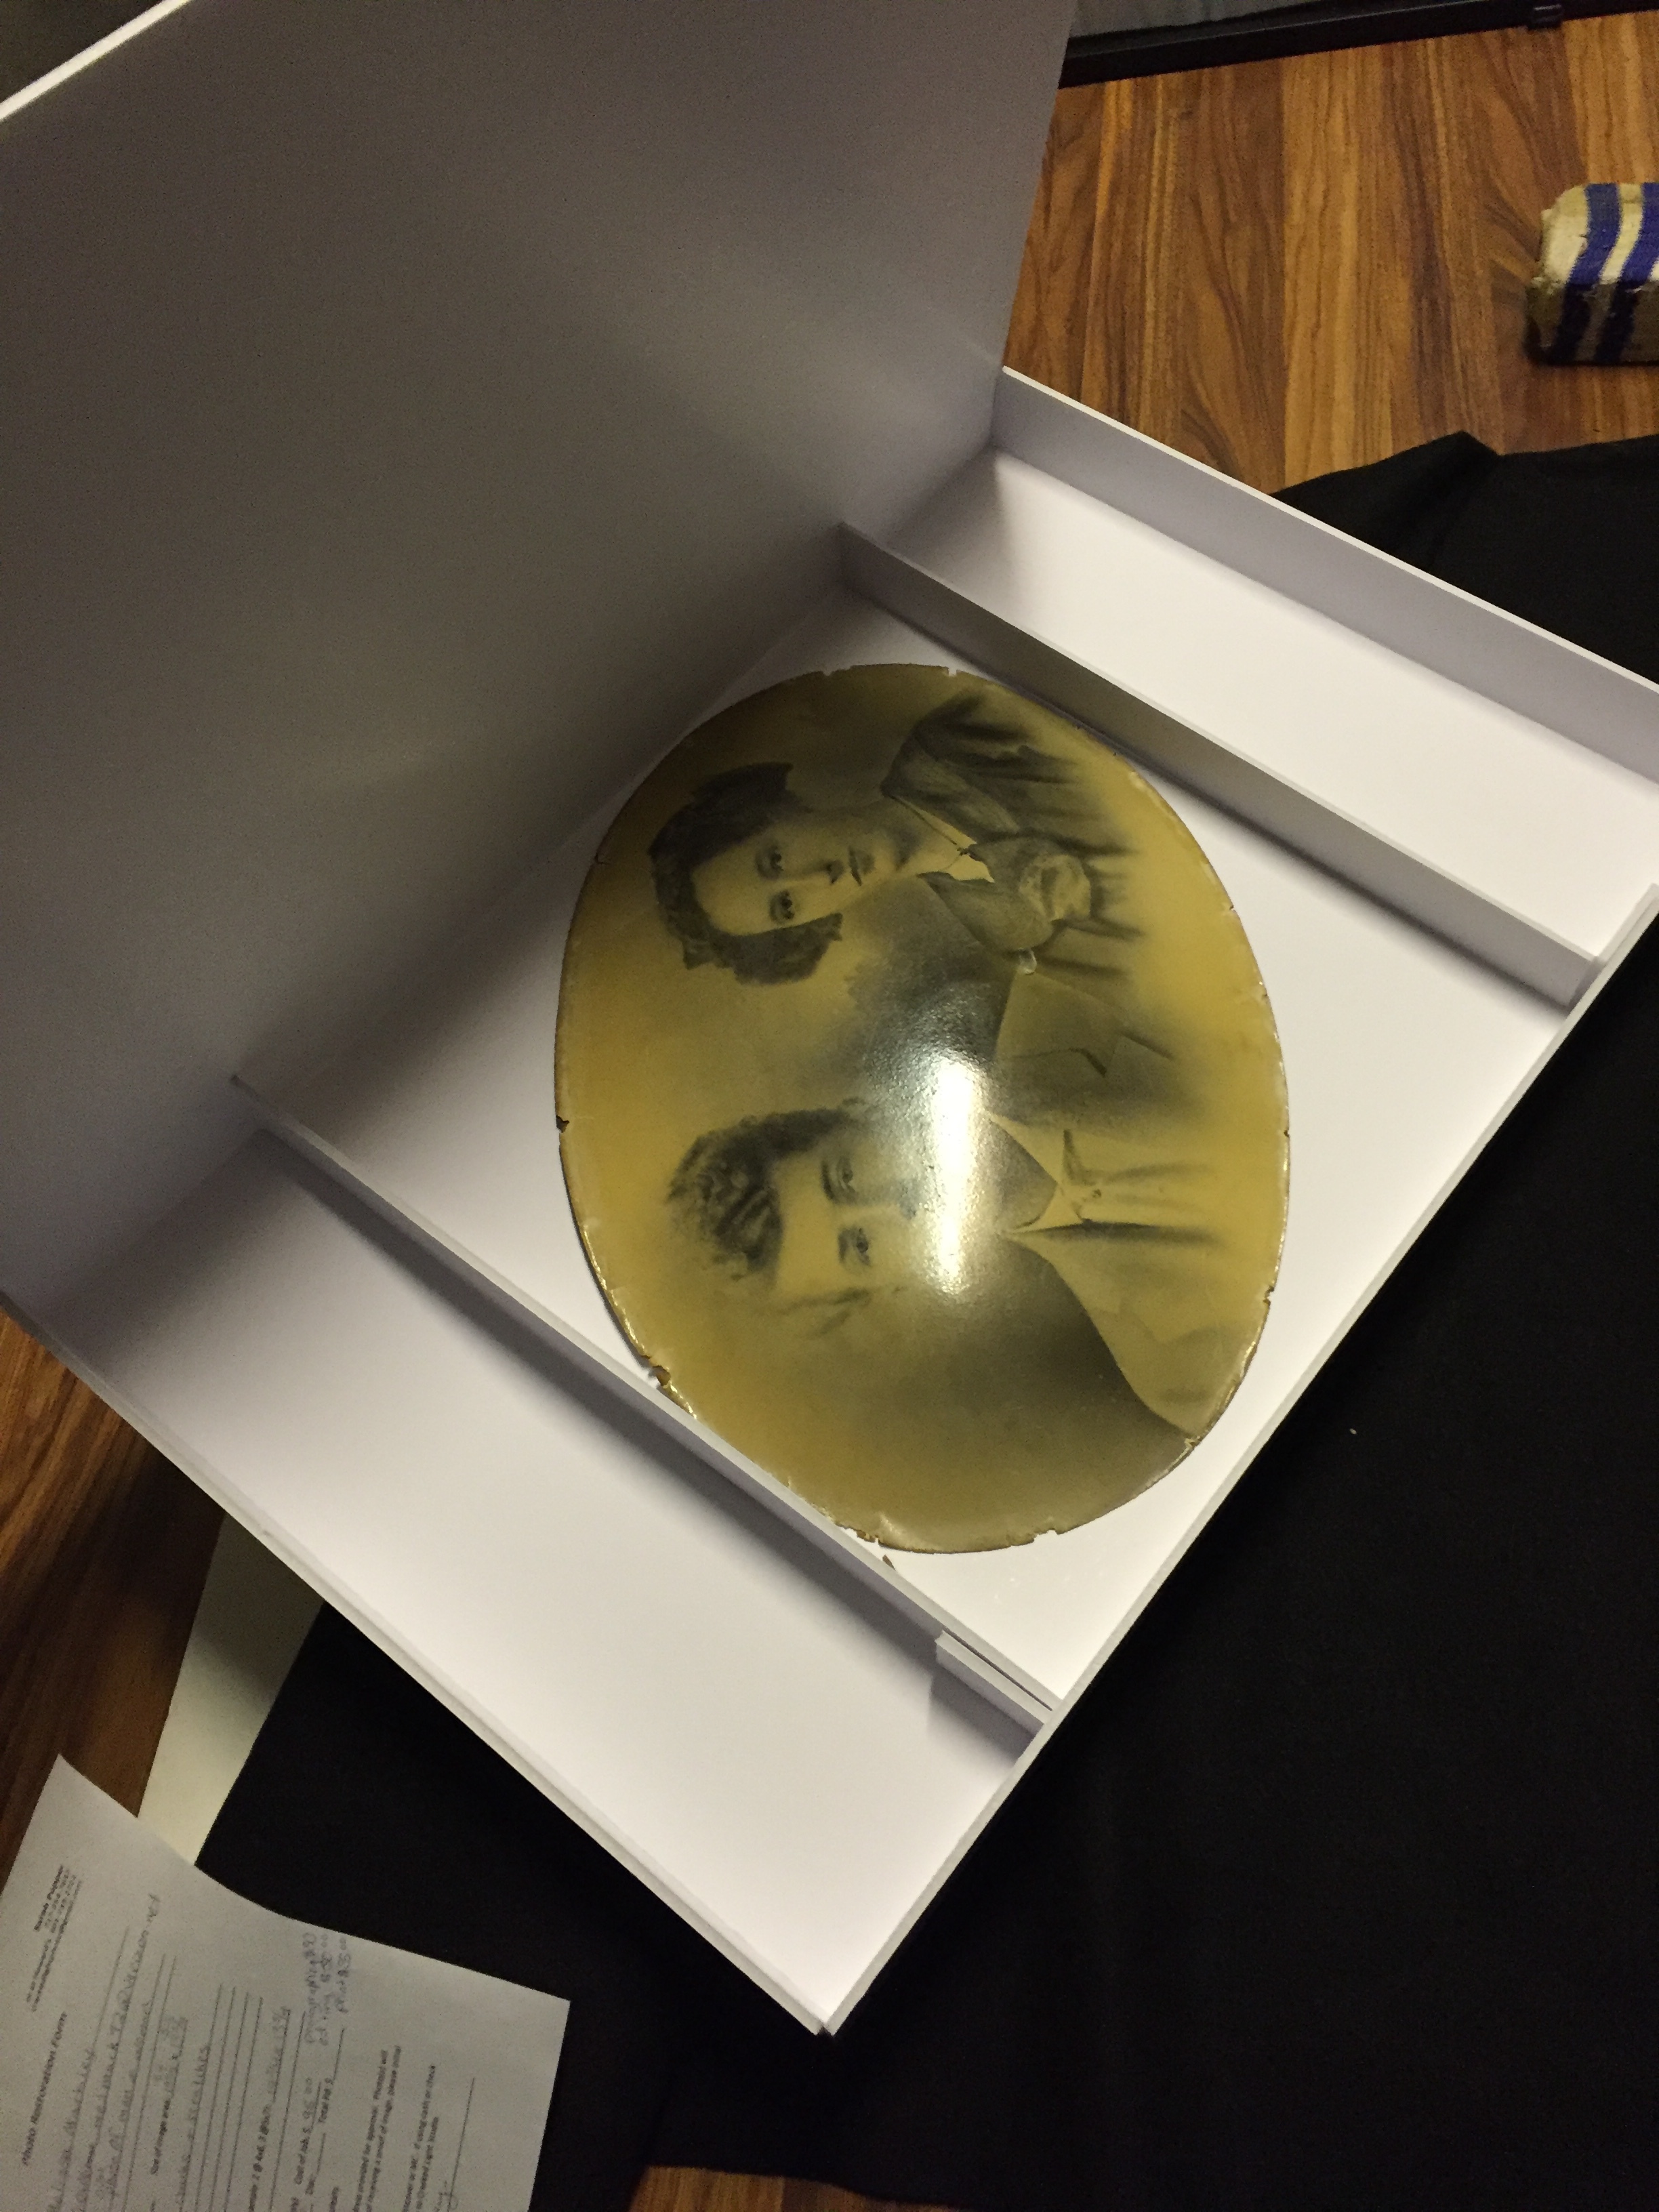
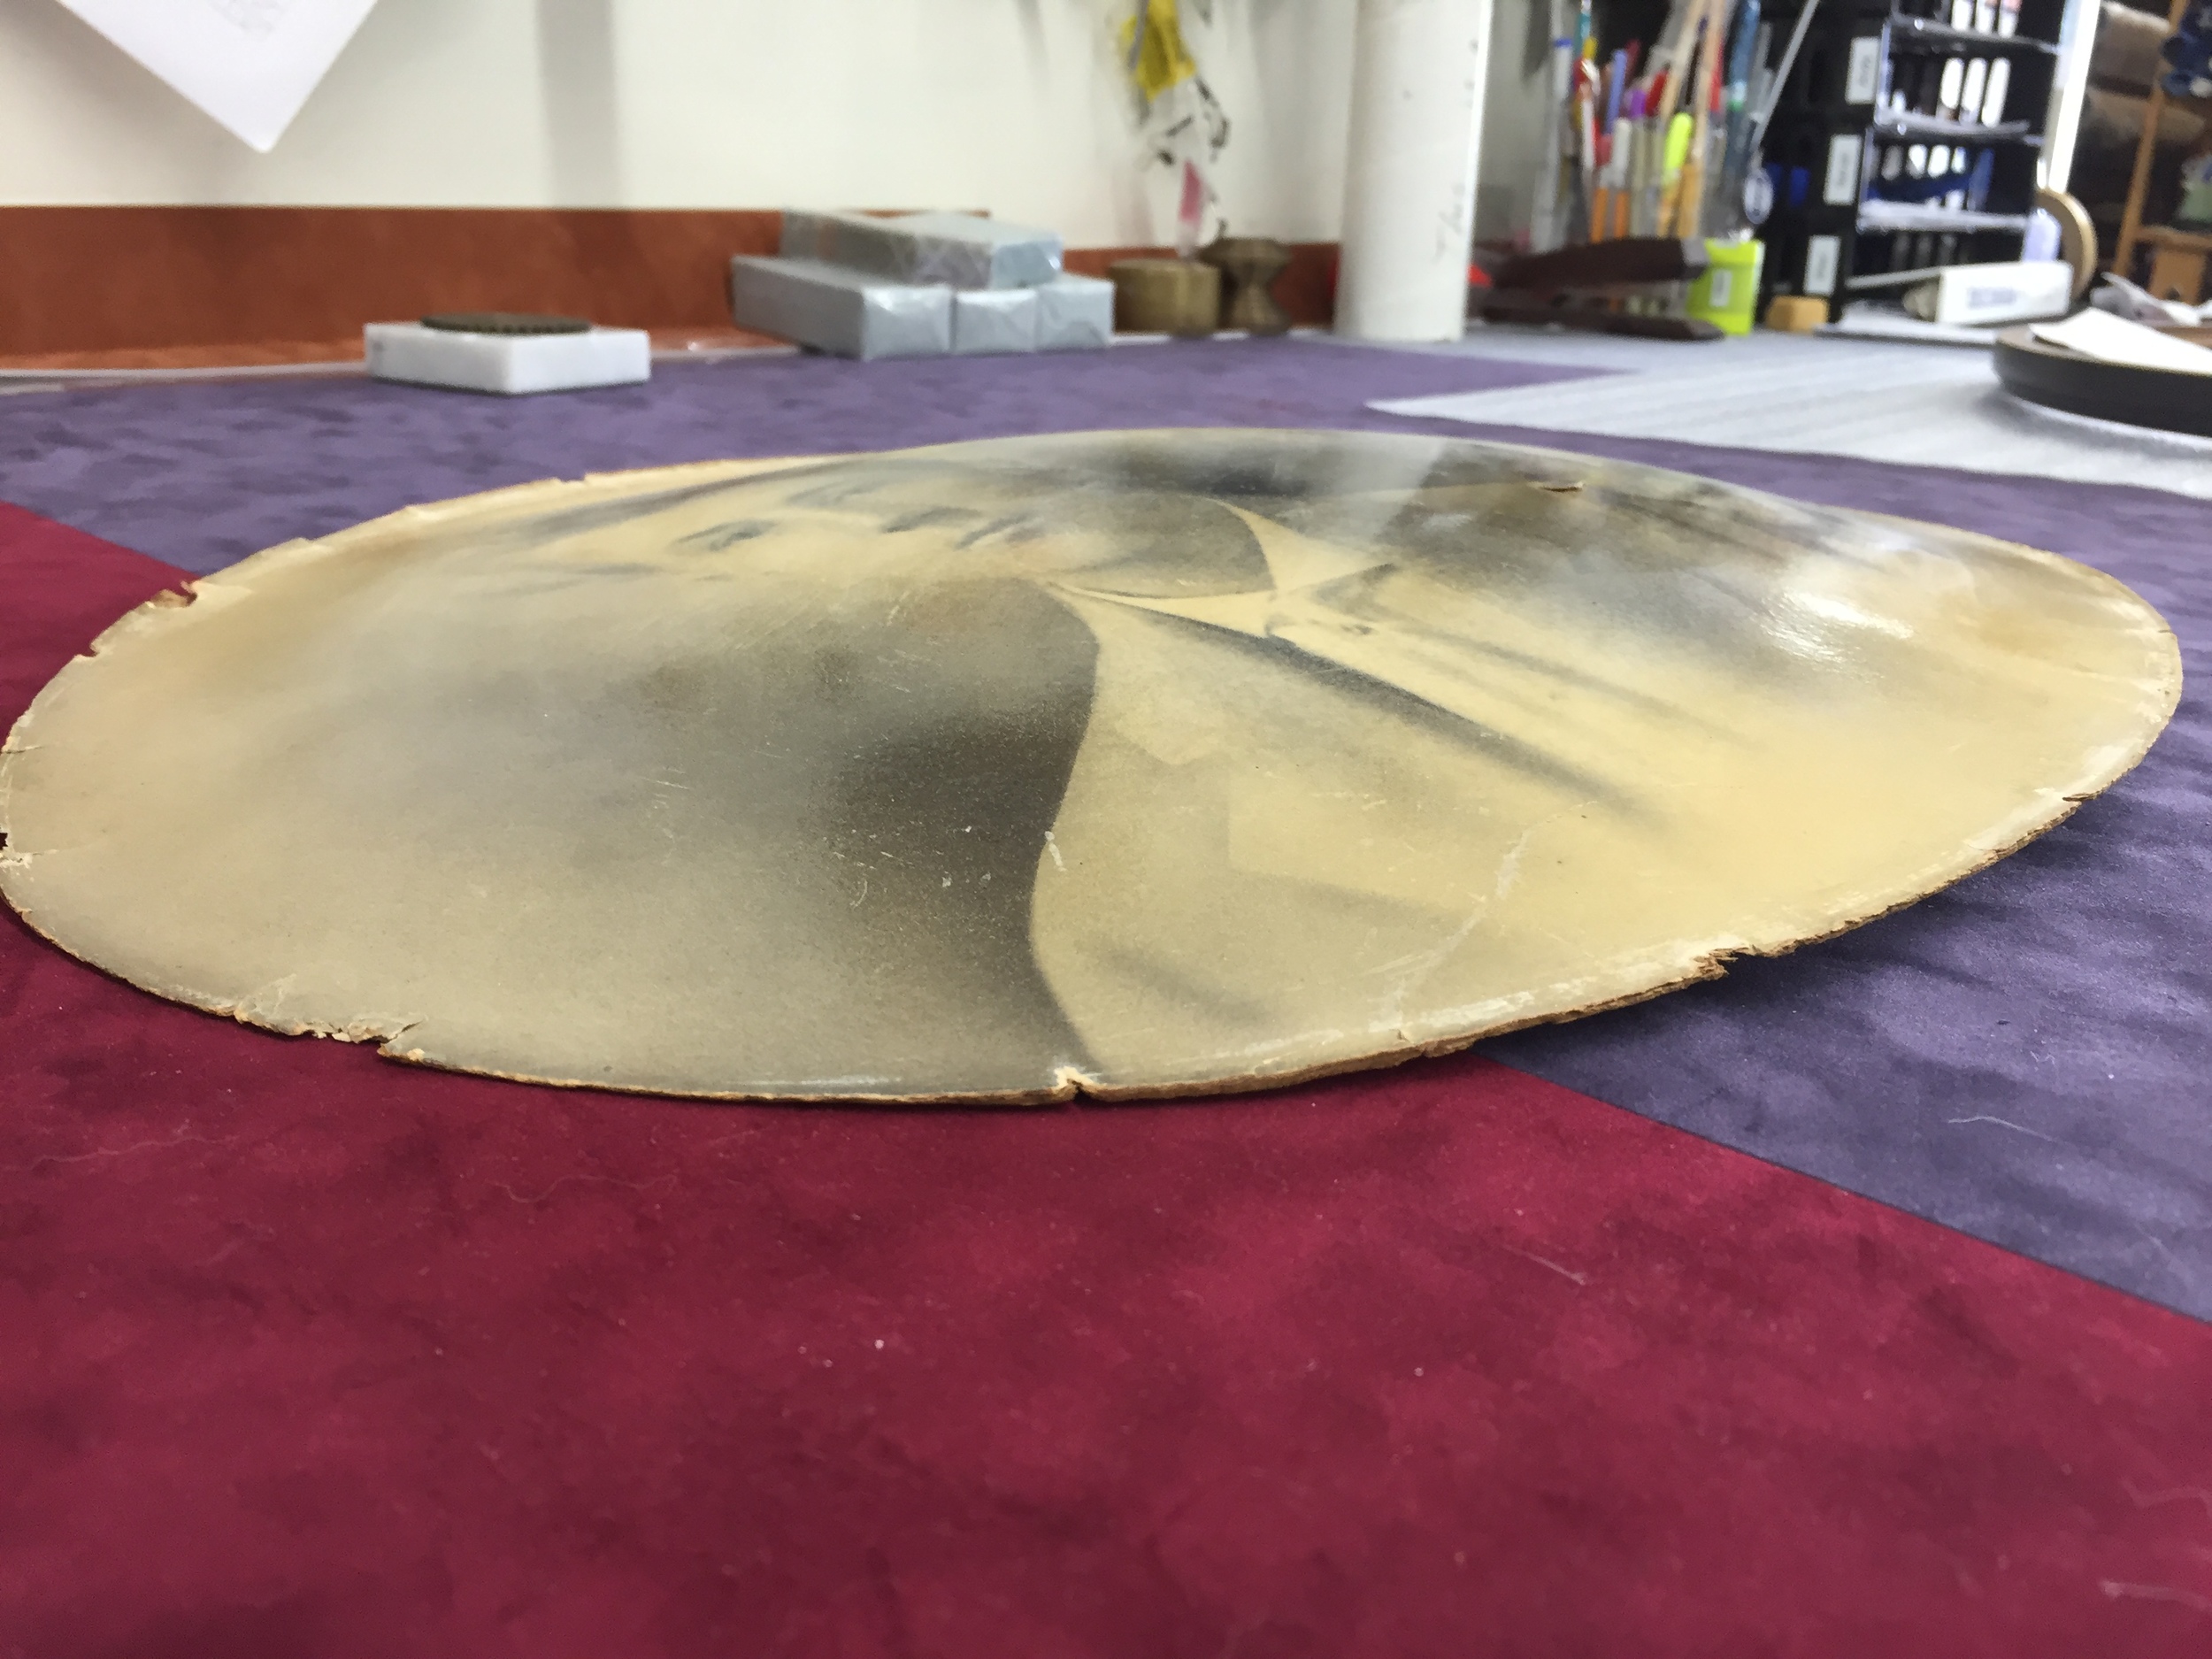
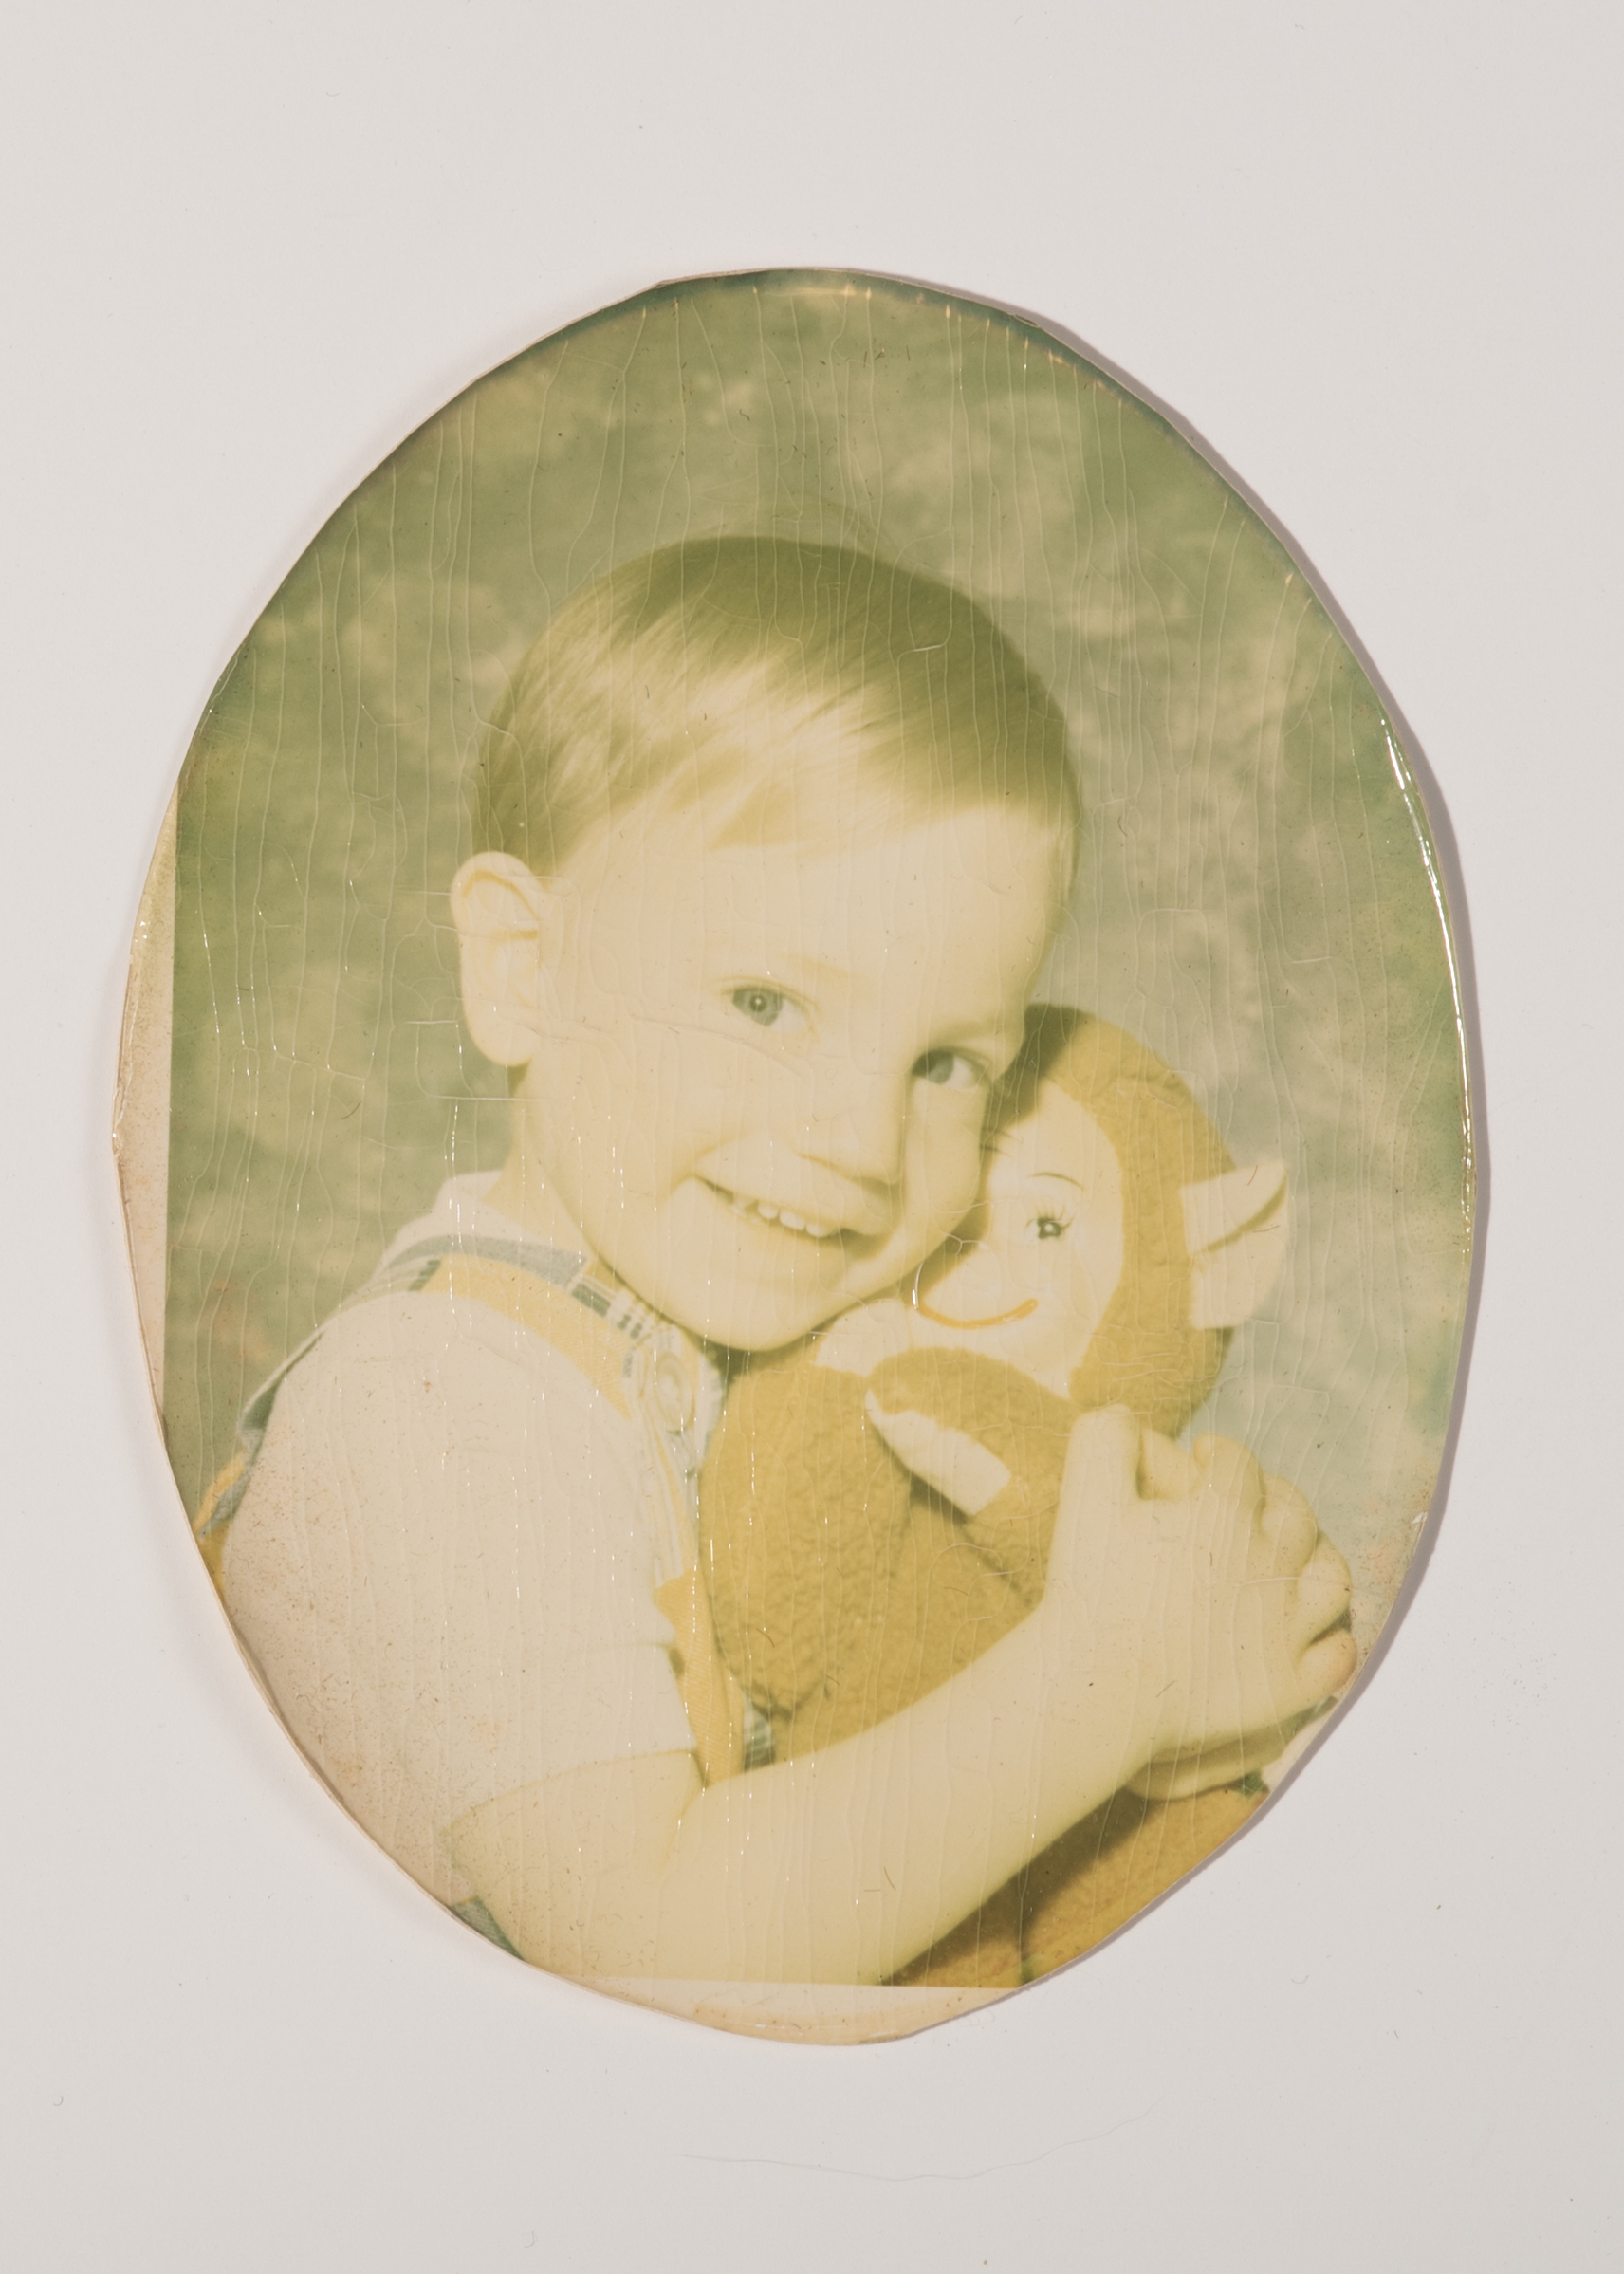
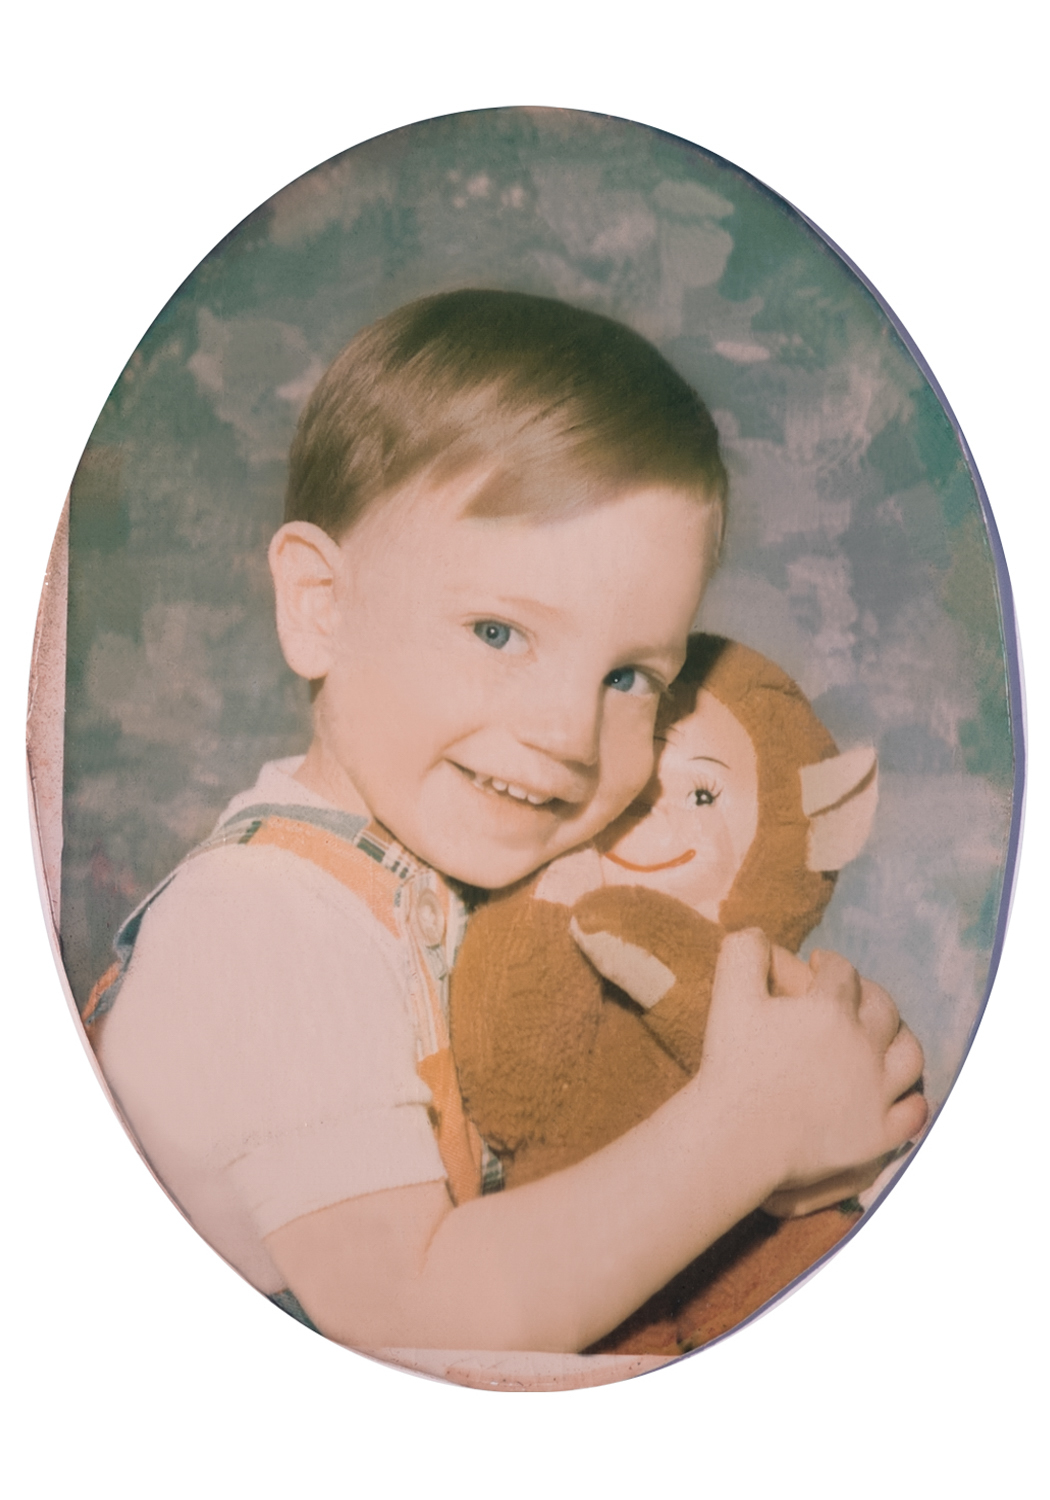
Recently I have decided to photograph the original images for photo restorations instead of scanning the images. I wanted to see if the resolution was just as good and if the image was just as clear. I have found the results to be very pleasing. Another reason I have wanted to try this is because not everything fits on a scanner bed. Also, as a picture framer I have seen many old photographs that are dome shaped. The only way to go about restoring these would be to photograph it.
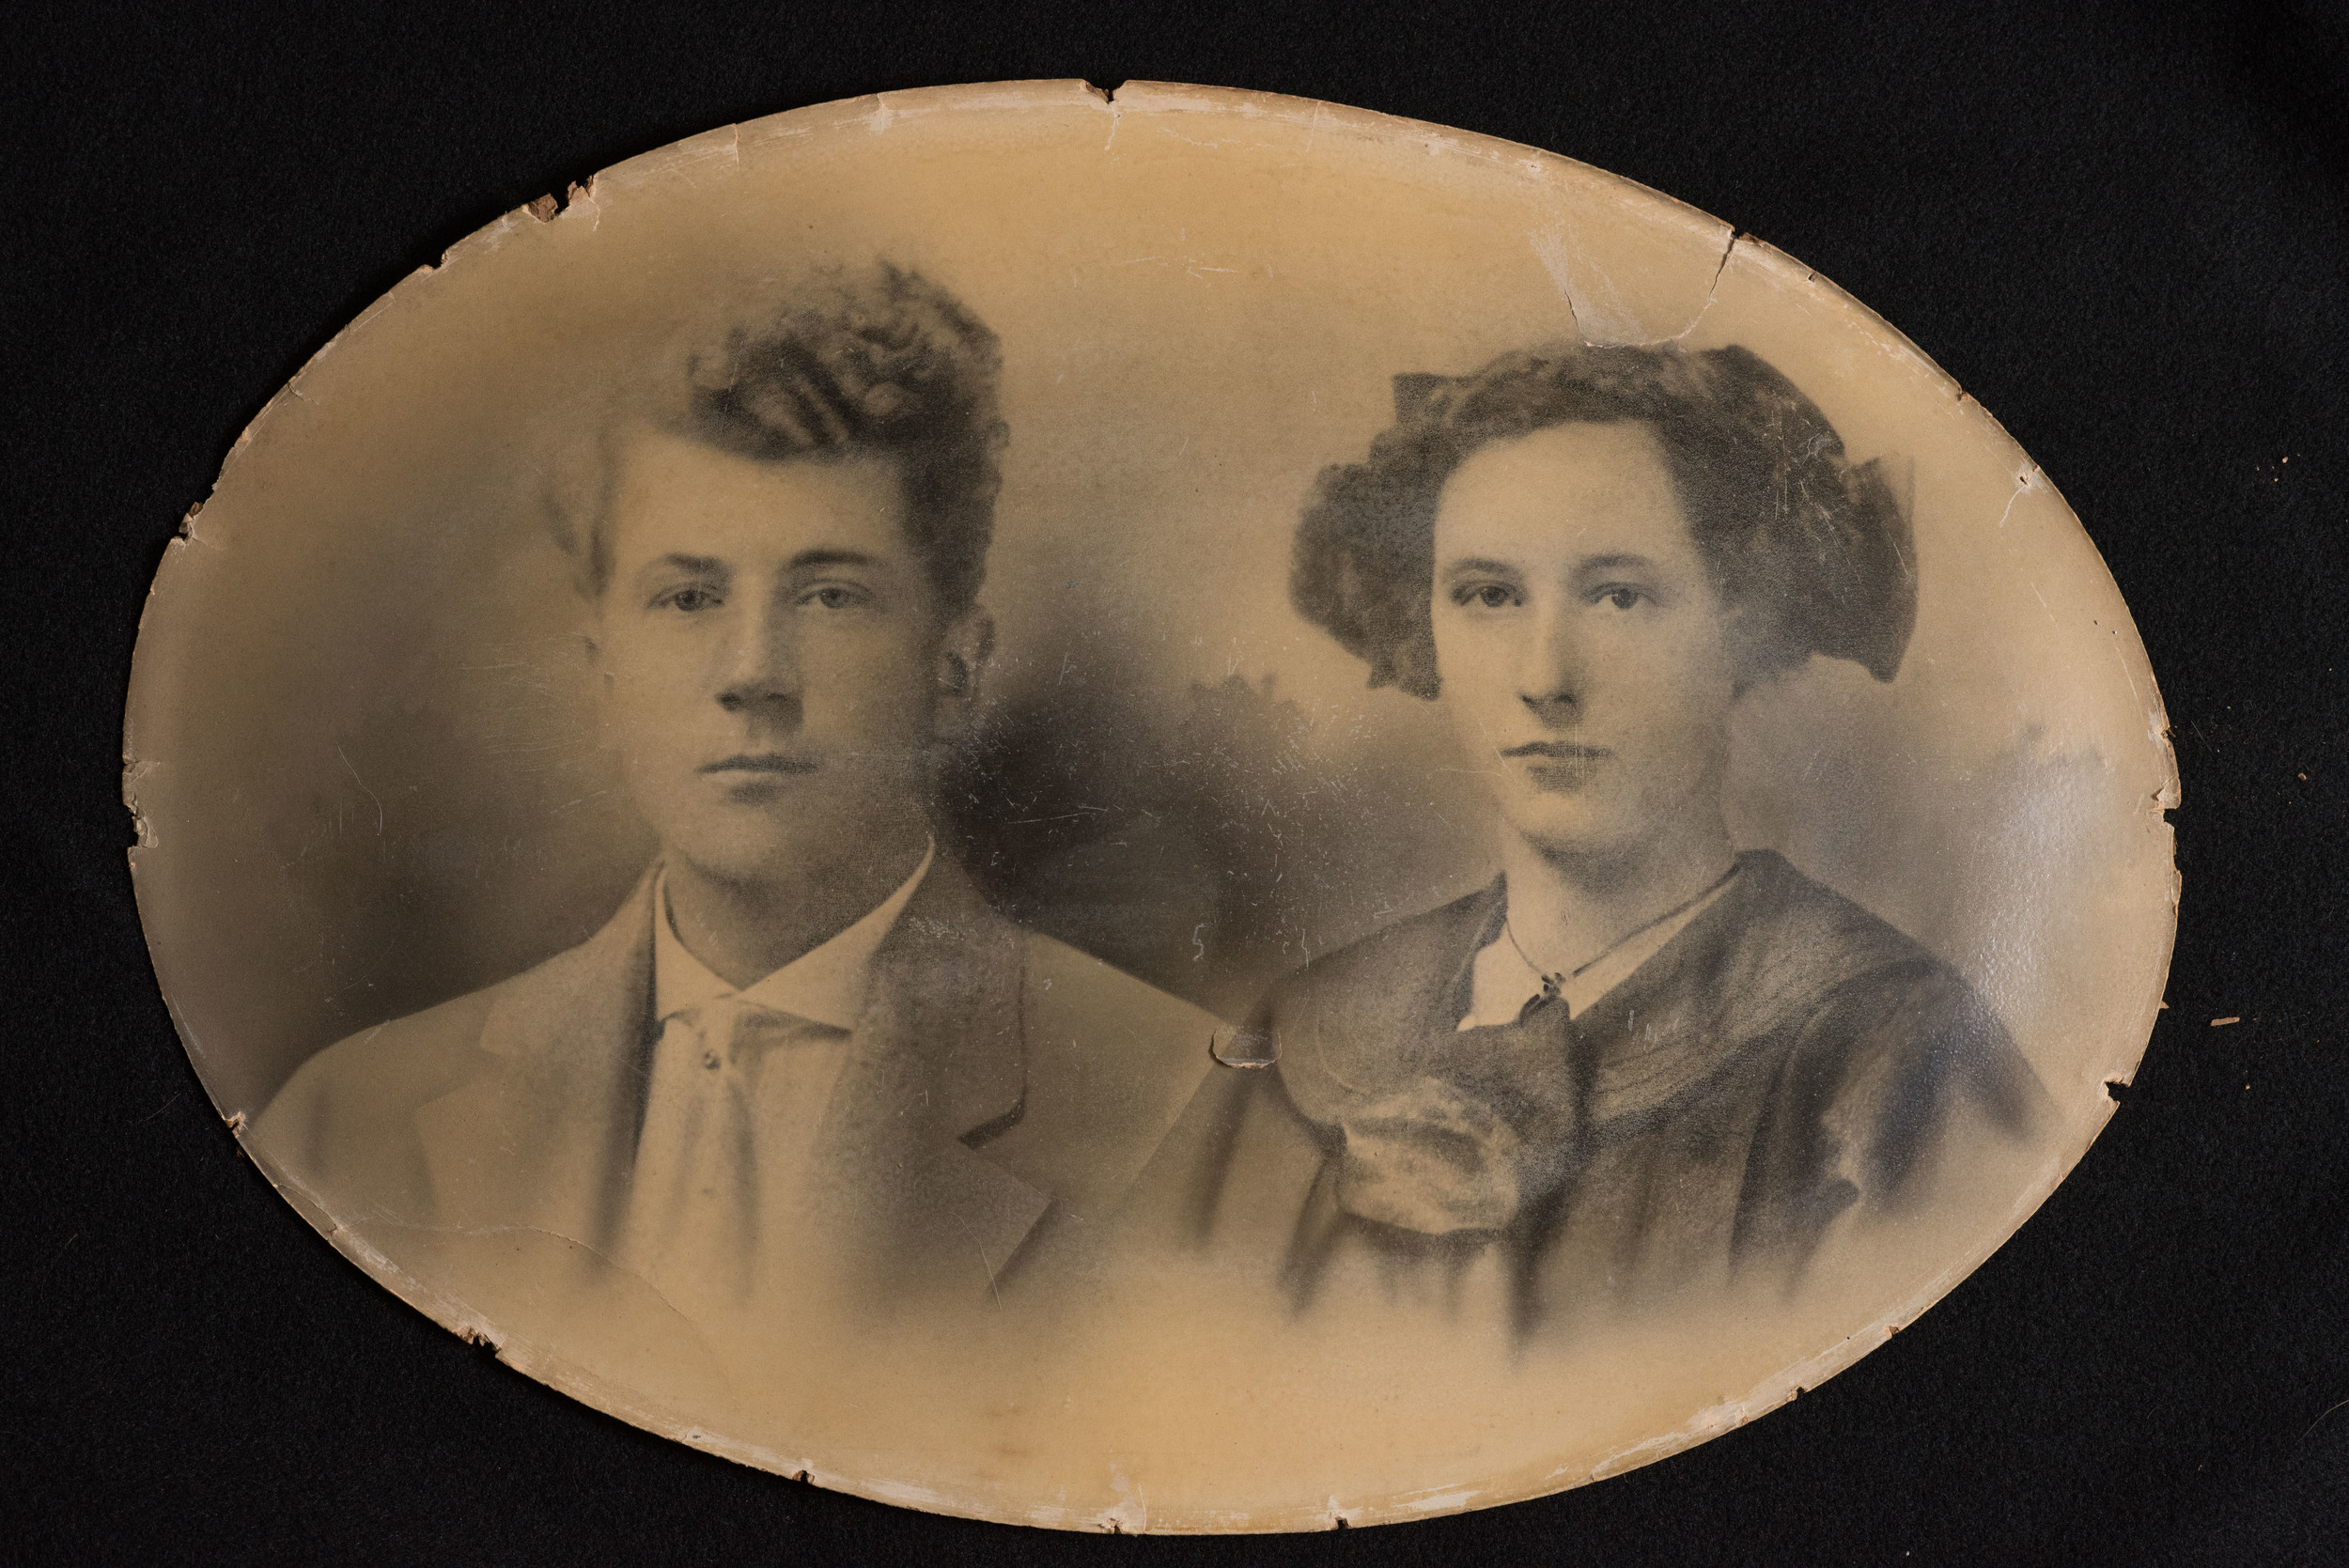
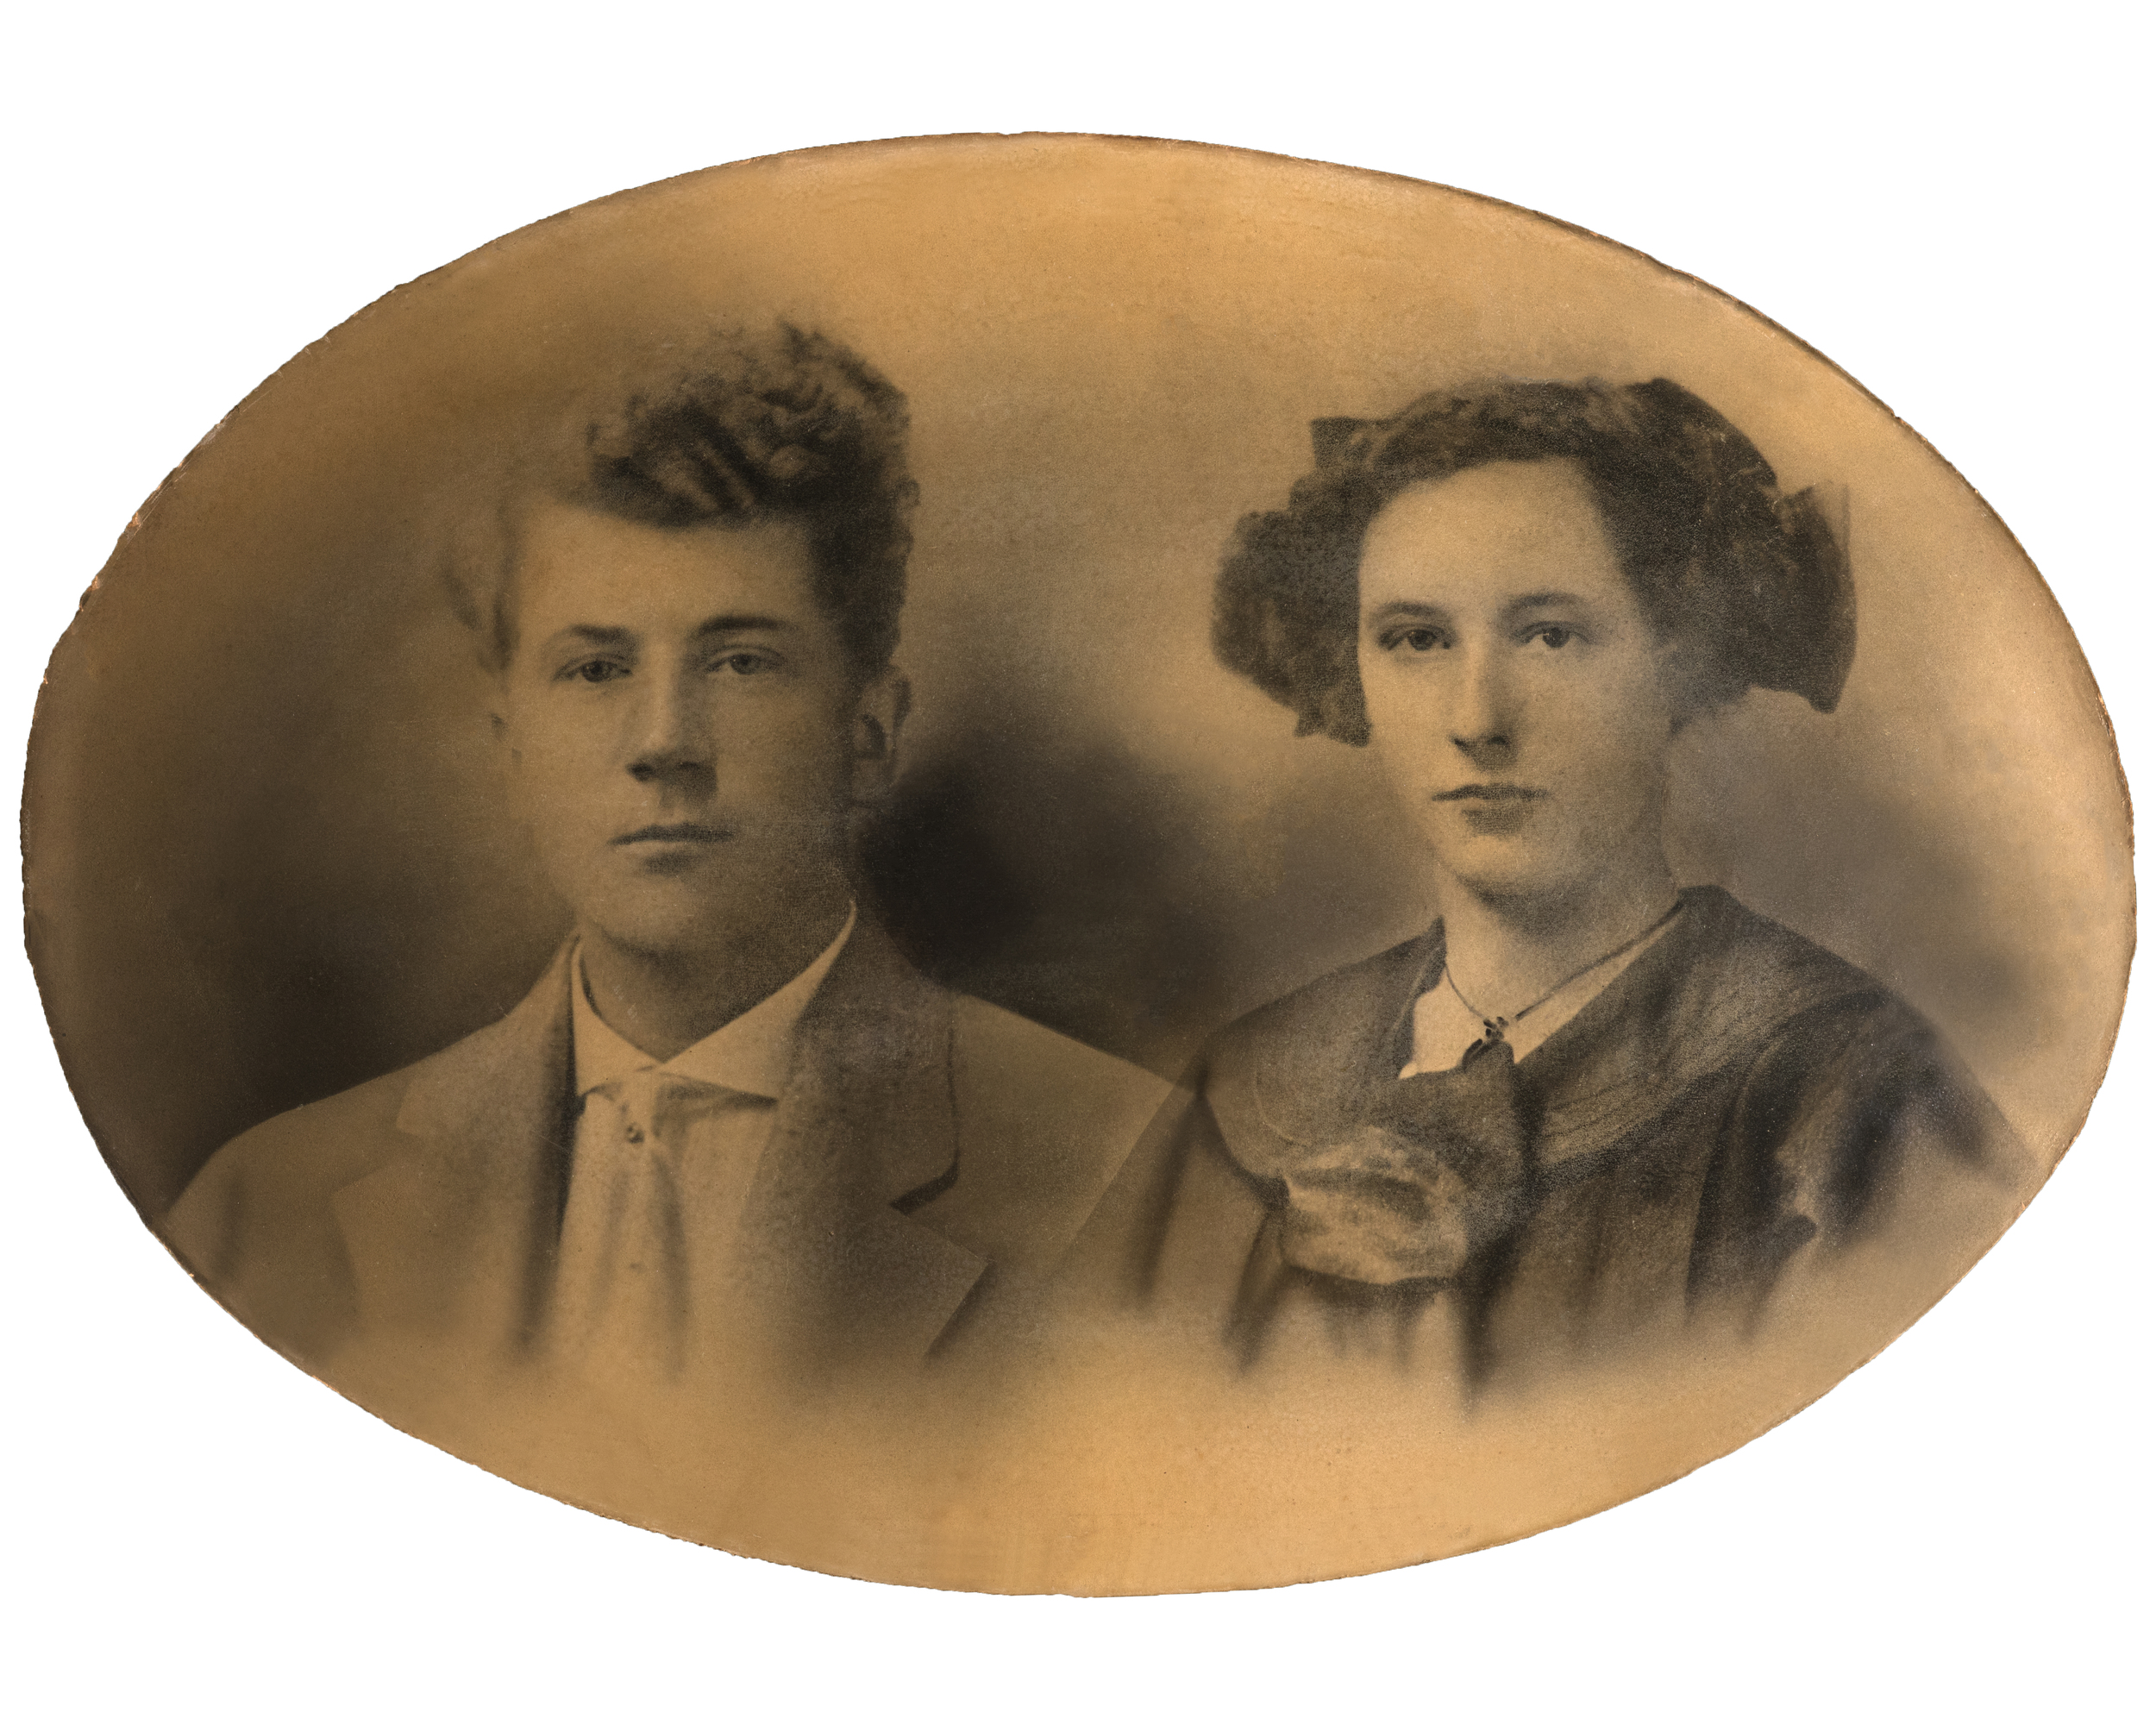
The two images above is of a domed photograph. This one had a glossy surface making it much more challenging to photograph for the restoration but with plenty of black foamcore I was able to get a good shot.
As you can see from the above images, I was able to take a photograph without too much glare. I then pulled it into Photoshop to edit. This one only had minor damage, but the main goal for this project was for the client to get a copy of the image.
The second project I did by photographing the original, was a much smaller photo. It was under 3"x5". By photographing it, I was able to get a huge image, way bigger than it needed to be. This is ideal though because it gives me great quality. Also, to photograph these images I used an 85mm lens because I have found that it gives me little to no distortion.
This image was a much more time consuming restoration. The clear finish on the photo had cracked and left small hairline cracks all over the surface. Once those were edited out, the image needed to be restored to its "original" color. It was extremely faded and the client wanted me to add the color back in. The images below show the before and after results.
Overall, I really like the idea of photographing my restorations projects rather than getting them scanned. I am happy with the clarity and the resolution. Both clients were pleased with their end products. I really liked the results of the second one, personally. Anyway, thanks for reading!

